
Quick and simple to make, Homemade Ice Cream is a summer treat everyone will love. And with so many possibilities for flavours, add-ins, and toppings, there is a dish for every craving.
Originally posted in July 2021, this recipe has been updated in June 2026, with new information, including the instructions for the Ninja Creami.
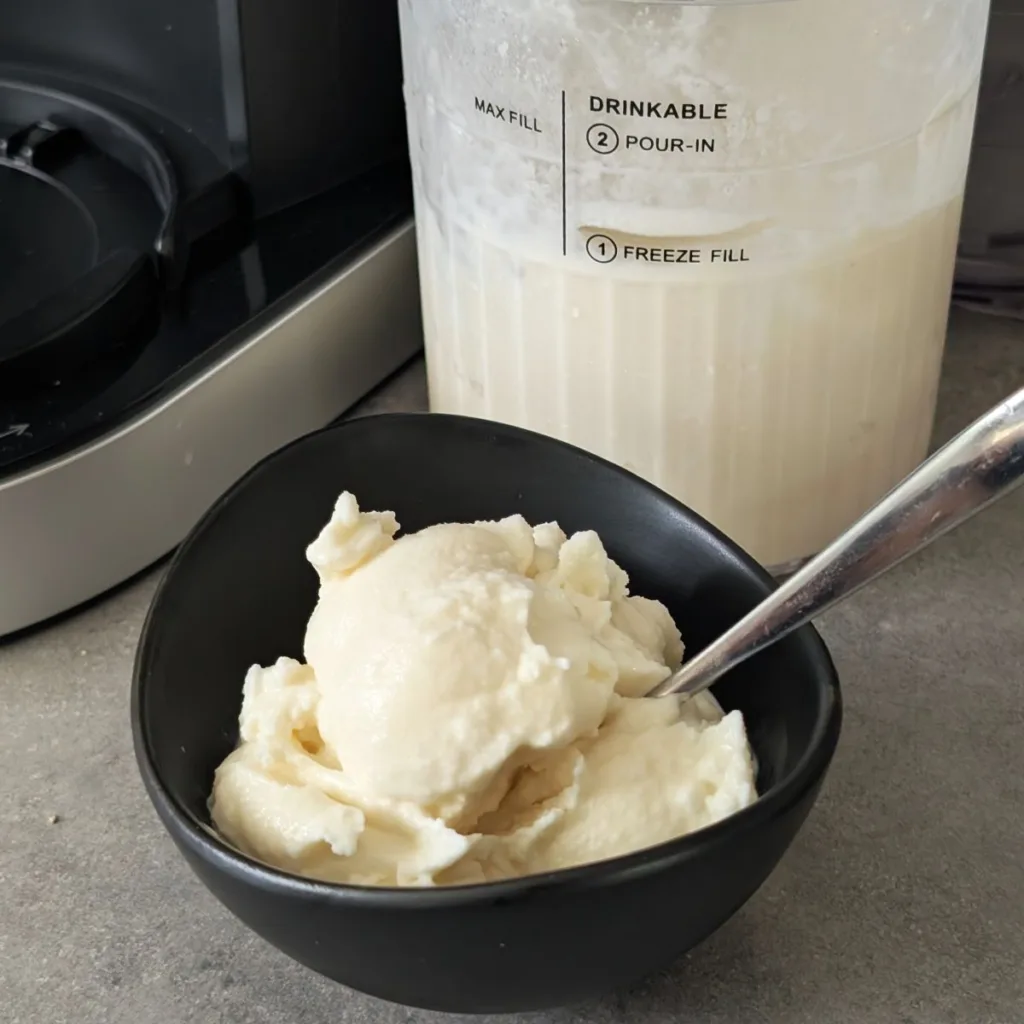
One of the summer’s best treats is ice cream, and there is no better ice cream than Homemade Ice cream. This recipe is easy to make and delicious.
Four Simple Ingredients
For the basic recipe, all you need is whipping or heavy cream, half-and-half cream, sugar and vanilla.
This is all it takes to make the basic recipe, and if you like vanilla ice cream, then that is all you will need to make delicious homemade ice cream.
Disclaimer: As an Amazon Associate, we earn from qualifying purchases at no additional cost to consumers. Some of the links in this post are affiliate links. If you click these links and make a purchase, we may earn a commission. Keep in mind that we link these products because of their quality, not because of the commission we may receive from purchases.
Add-Ins and Flavouring for Homemade Ice Cream
If vanilla is not your favourite ice cream or you want to change it up a little, there are numerous add-ins and flavours you can add to the basic recipe.
To add flavour, all you have to do is add any liquid to the basic recipe. It is best to stick with extracts for flavour. Too much liquid could cause the cream to break down, and the final product will be runny and won’t freeze properly.
Any solid add-ins get added after churning. Solids can be folded into the ice cream after churning and before freezing.
Bourbon Grilled Peach: One of our favourite ways to add flavour is to add grilled peaches and bourbon to the basic recipe. Grilling the peaches before adding them to the ice cream is the best way to soften them and bring out the sweetness of the peaches. We usually grill them while the ice cream is churning. Get our recipe for Bourbon Grilled Peaches.
Chocolate Chip Mint: Add some mint to the mixture before churning. You can also add a few drops of food colouring to make it like store-bought. Then fold in mini chocolate chips or even mint chocolate chips after churning.
Chocolate Cherry: This flavour is one of my favourites. After churning, I fold in chopped maraschino cherries and drizzles of chocolate syrup. I don’t mix in the chocolate syrup completely. I like to have ribbons of chocolate throughout the ice cream.
Apple Pie: Now, this flavour is different from what you would find in a store. Add some cinnamon to the churning process, then fold in a slice or two of crumbled apple pie. You can also just add apple pie filling. It is so good.
S’mores: A campfire favourite added to ice cream. After churning, simply add crushed graham crackers, mini marshmallows and small pieces of chocolate. You can also use chocolate chips. Marshmallow fluff folded into the ice cream also works well.
Marshmallow Cereal: Replace the half and half with cereal milk. Soak ¼ cup of cereal (we use Lucky Charms) for 5 minutes to make the cereal soggy. Then add the cereal milk to the mixture. After churning, fold in some broken cereal and marshmallows for added flavour.
Equipment Needed to Make Homemade Ice Cream
To make this ice cream, an ice cream maker is used. We have made this recipe with two different kinds of ice cream makers.
The first is the Kitchenaid ice cream attachment. This is our go-to way of making any ice cream. The attachment bowl stays in the freezer so it is always ready when we want to make ice cream.
The second ice cream maker used for this recipe in is the Nostalgia Electric Ice Cream Bucket. Using this type of ice cream maker takes longer to churn. And it uses ice to make the ice cream. We have run out of ice while making the ice cream in the past, so we recommend that you have a lot of ice available if this is the type of maker you will be using.
Can Homemade Ice Cream Be Made In The Ninja Creami?
Yes! This recipe is one that we have been using for more than 10 years, and just recently purchased a Ninja Creami. This was one of the first recipes we tried to make and it turned out amazing!
To use the Ninja Creami for this ice cream recipe, mix all the ingredients together and freeze in your Ninja Creami container for 24 hours. Then use the ice cream setting on the Creami to blend the mixture before serving.
Follow the directions for stir-ins if adding any mix-ins.
The only downfall of making this ice cream in the Ninja Creami is waiting the 24 hours for the mixture to set before blending. That is why we keep a couple of containers in the freezer ready to go. We even purchased extra containers to have on hand during heat waves so we don’t run out of cool treats.
Storing Homemade Ice Cream
Unlike store-bought ice cream, homemade ice cream won’t last in the freezer as long. There are no preservatives to keep the ice cream fresh for long.
We serve the ice cream on the same day we make it. Then store leftovers in the freezer for up to 5 days. After that, it starts to crystallize. To reduce the amount of crystallizing, a piece of plastic wrap placed over the ice cream helps. We place the plastic wrap right on the top of the ice cream then put the lid on the container. This keeps the air between the ice cream and the lid from hardening the top of the ice cream.
Did you make this ice cream recipe? What flavours or mix-ins did you add to the recipe? Tell us in the comments how you made this ice cream recipe. We love hearing from you and your comments and ratings help others who may like this recipe.
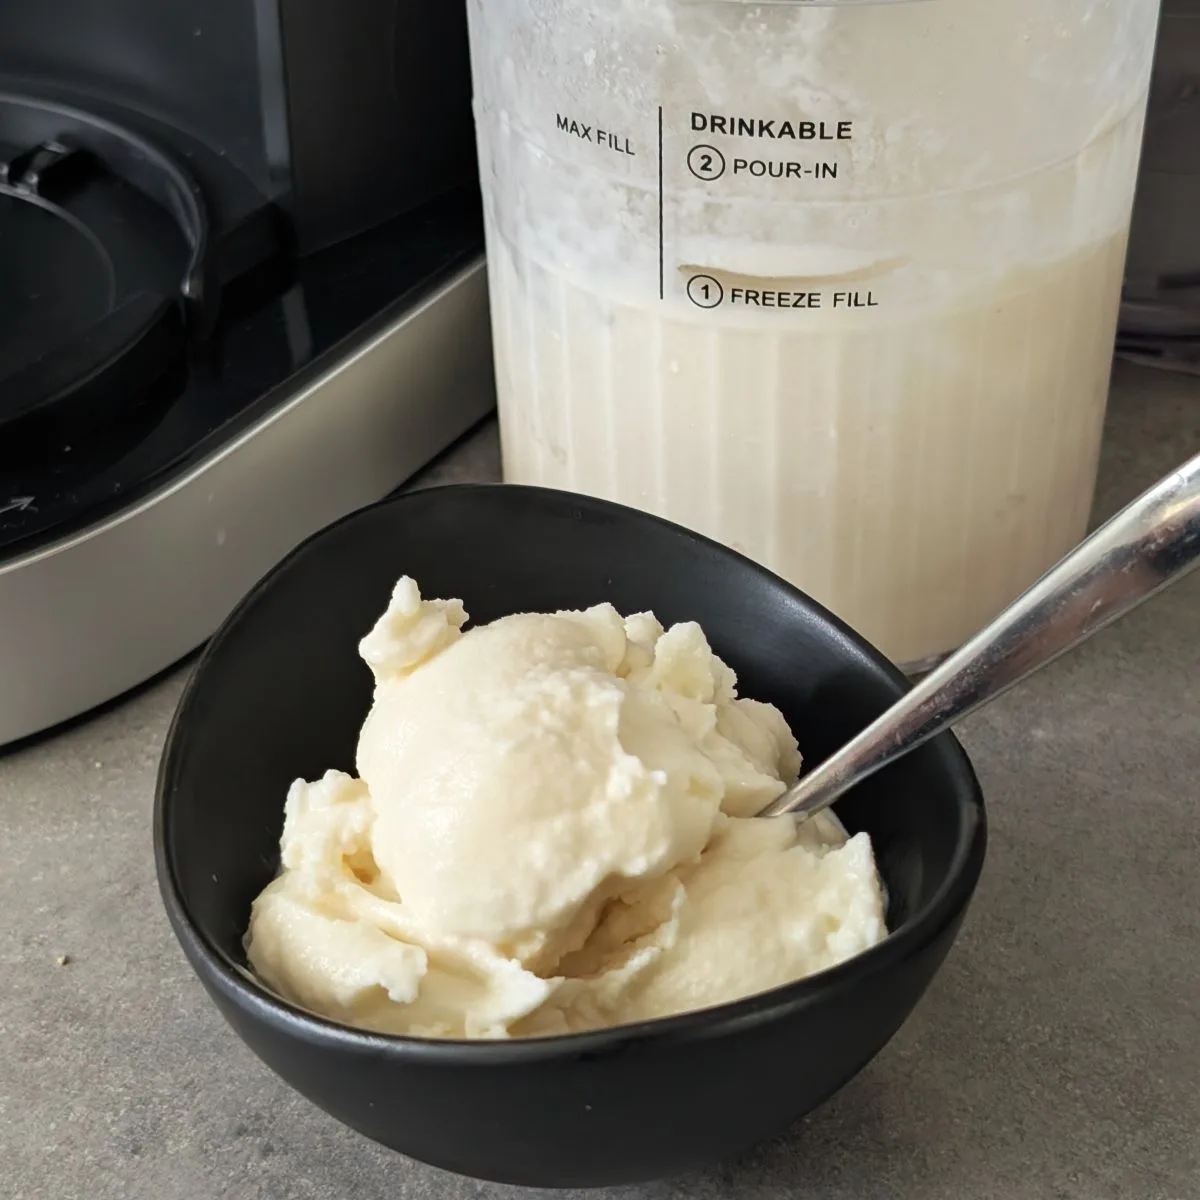
Homemade Ice Cream
Equipment
- Ice Cream Maker
Ingredients
- 1 cup Whipping Cream/ Heavy Cream 35%
- 1 cup Half and half cream 10%
- ¼ cup white sugar
- 1 tsp vanilla extract
Instructions
- Add all ingredients to your ice cream maker, including any liquid flavouring you may be adding.
- Churn mixture according to the directions of your ice cream maker. (if using a Kitchenaid Stand Mixer ice cream attachment, this takes between 20 and 30 minutes)
- Once churning is complete, fold in any solid flavourings.
- Transfer to a freezer safe container with a lid.
- Place mixture in freezer and allow to freeze for a minimum of two hours.
- Serve like you would any ice cream.
- Store ice cream in freezer for up to 5 days.
Notes


